1966 Suburban Chassis Swap – The Build – Part 1
If you’re a fan of classic cars, then you’re going to love this 1966 Chevrolet Suburban build. This vehicle has been rebuilt from the ground up, and features all sorts of awesome modifications that will make it stand out from the crowd. Whether you’re looking for a show car or simply want something unique and stylish, this suburban is definitely worth checking out. So without further ado, let’s take a closer look at this amazing build!
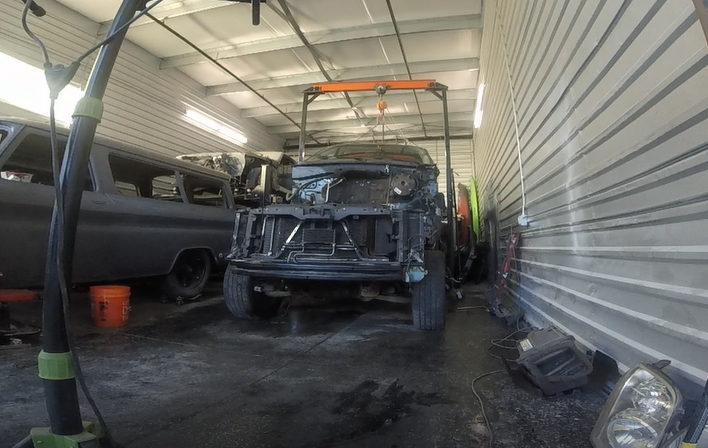
Decide what needs to be removed from the Yukon to facilitate the electronics in the build
Ultimately we want the electronics you would expect like the lights and switches that control the, the automatic levelling system (we may opt out of this later) , the ABS system and traction control as well as the cruise control system. In order to get all of these systems functioning in the new vehicle we need not only the wiring but the engine controller and the body computer. What we didn’t know when were dismantling the Yukon was that the GMLAN system installed on this model is a serial system that needs to run through the ONSTAR system. In order to not install the ONSTAR system and all its wiring we found a workaround and jumpered across the bus at the intermediate relay panel (more on this later). Removing the ONSTAR system means that there are a few things that no longer work like the TPS system. We will continue to look for a solution for this issue as we move forward.
We also want to graft a small section of the firewall where the movable pedals mount as well as the brake booster and steering column cover. We chose to cut this part of the firewall out of the Denali and weld it into the Suburban.
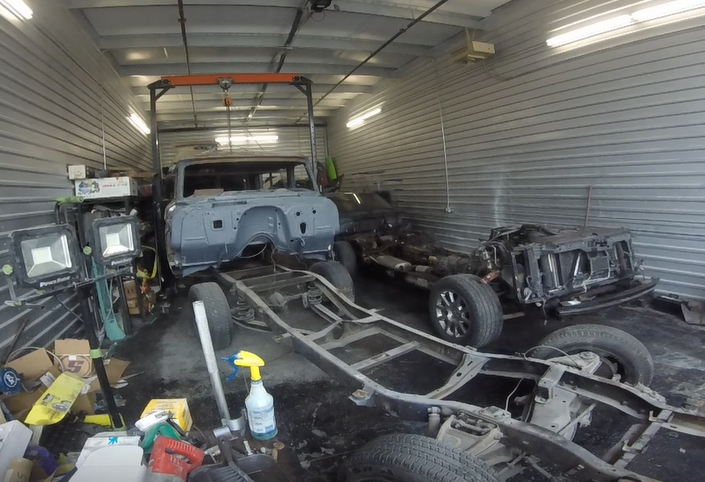
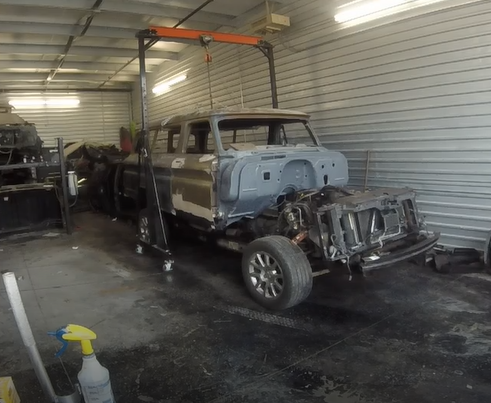
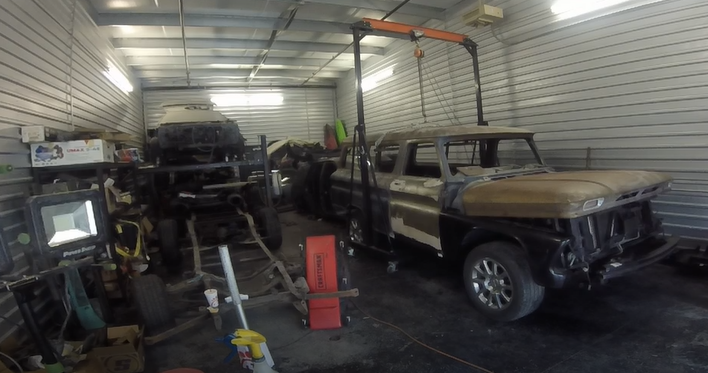
Separate the bodies from the chassis
Removing the body from the Yukon turned out to be relatively simple, there is a good series you can watch for this process but long story short once you remove the hood and front fenders, there are 6 body mounts per side and a couple of main connection points to tackle. There is a YouTube video here

One of the problems we encountered was how to lift the bodies from the frames without doing damage to the body. We decided to lift the Suburban through the cabin windows but needed to do so without pinching body at the lift point or damaging the window frames while we were lifting. Our solution was to use a 2×3 piece of steel and weld stops on it at the windows frame.

We went in a slightly different direction with the Yukon, choosing to lift it from the rear wheel wells and under the front doors. We had previously purchased a 5 point lift cable with eyelets in order to do this. With both of these lifts we used the 2 ton gantry crane with the roller block and lift chain we purchased from Harbor freight some time back.
Test fit the suburban body on the Yukon chassis

Once the Suburban body was set down on the Yukon chassis we went about the process of seeing what body mounts might work (none of them did), how the engine fit to the firewall and where we had space contention between old and new. There is a surprising amount of space under the body of the Suburban and there were only a few areas where we had to make modification specifically we had to remove some material at the back of the rear wheel wells and just a little material from the passenger side firewall where it was hitting the engine.

Test fitting the front fenders and the hood revealed a number of areas where some modifications needed to be made. As you can see from the picture the hood was up and the fenders were short compared to the Yukon. Interestingly I did find another build where the builder cut the body aft of the door and added 3 inches which I would have found to be a ton of work. What we did was much simpler. We moved the radiator and core support back 4 inches to make room for the fenders and hood. As we did that the hood found plenty of clearance and settled right into its space.
Read more about this build as I continue to ramble in the 1966 Suburban Chassis Swap – Part 2
