1966 Suburban Chassis Swap – The Build – Part 2

1966 Suburban Chassis Swap – The Build – Part 2

Strip the Yukon body of seats and wiring harness

It was decided early on that we were going to use the front seats and the third row so as we were dismantling the Yukon we removed everything from the rear doors forward including the seats, all the wiring, the console and everything out of the dash that was needed for the new vehicle, The Yukon has a structural bar that is around 4 inches on the drivers side and 2 1/2 inches on the passenger side that holds most everything under its dash including the steering column, pedal assembly, wiring harness, most of the heater/cooling plumbing and numerous other items. The structural member was removed and fitted into the suburban.

Fab Body Mounts

Clean up the frame treat the inside paint the outside

I bought the donor Yukon on Copart and it was located in Oklahoma City, OK. I wondered at the time why it went so cheap for a 119000 mile hail damage car. After I picked it up it was pretty clear that there was a lot of corrosion on the frame, like hey I parked my Yukon in the ocean for a week. I had a number of options and considered having it dipped or blasted but those 2 processes seem more rare where I am than I ever expected. So, I pulled the body off, cut all the mounts off and pulled everything off that I could that wasn’t metal. I worked for a few weeks sanding and grinding the outside then priming and painting it with Eastwood ITEM # 11175 EXTREME CHASSIS BLACK BRAND then spent a few more days doing the same to the inside of the frame using the Eastwood Internal Frame Coating Aerosol Black. This was all some extremely dirty work and I am still working to get all the rusty dust out of my shop, note for next time, do it outside.

Replace the rear shocks and air pump

You know how you sometimes ask yourself, if I had this to do over again what would I change? This is one of those things. Not knowing this system and how complicated it is I noticed that the existing pump and the rear shocks were in pretty bad shape from corrosion so I decided to replace them. As I was doing the research I noticed there was a delete kit that replaced the rear shocks with coil-overs and added a resistance plug to the existing wiring. That is the route I should have gone. Let me explain why. This system is the Z55 Autoride Suspension option that uses the Electronic Suspension Control (ESC) system to make changes to each of the four shocks in milliseconds as you drive, adjusting the stiffness and handling of the suspension. This RPO also includes rear auto-levelling air shocks and a compressor, which can often be the failure point for these suspensions. The system is tied into the GMLAN bus and uses a number of sensors including a lateral sensor under the seats. The GMLAN bus system as I described in the kickoff to this series is a serial system that requires all the components to be plugged in for it to work. My first mistake was removing the OnStar system without knowing it was going to break GMLAN. I overcame this by jumpering the tan/tan-black wires at the intermediate relay panel. I also moved the lateral sensor while I was moving the seats. Ultimately to make a long story short, I will probably bite the bullet and remove this system all together and try to recover some of my costs by selling the shocks and pump on Marketplace.

Mount the body

Fab the firewall

Mount the front crossmember, Seats and wiring harness
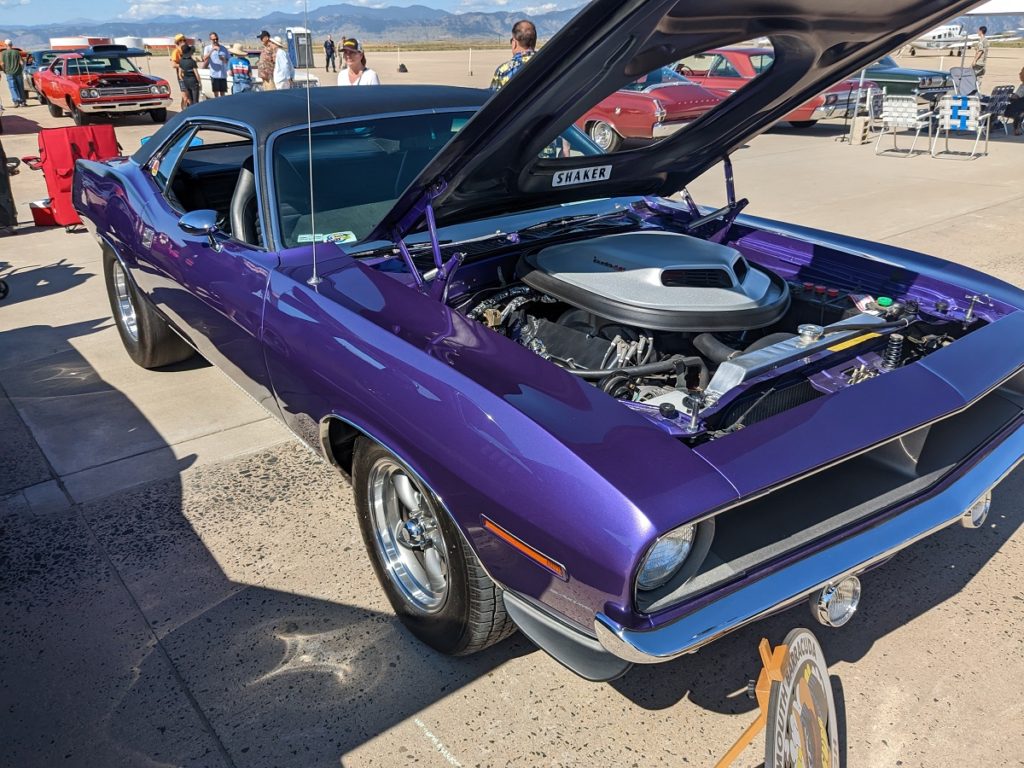
Rocky Mountain Car Show – Swap meet – August 6th, 2022 – Broomfield CO

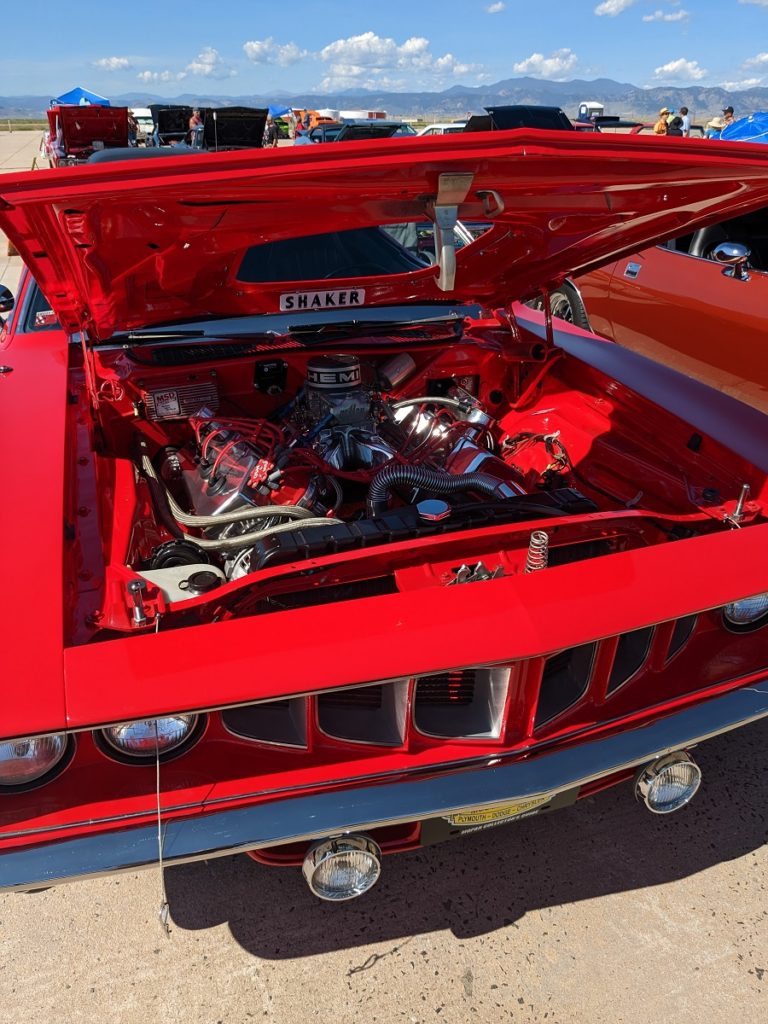
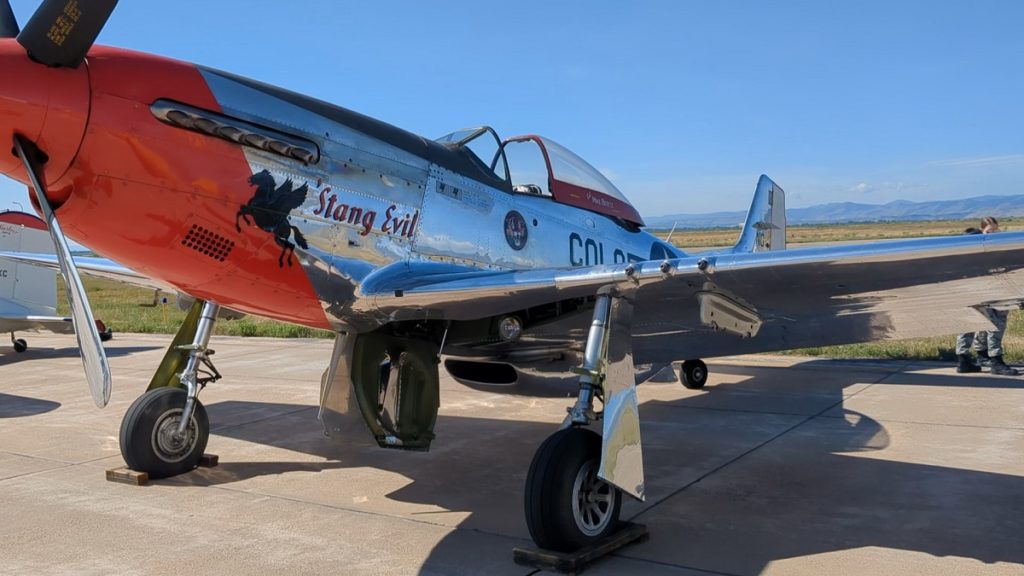
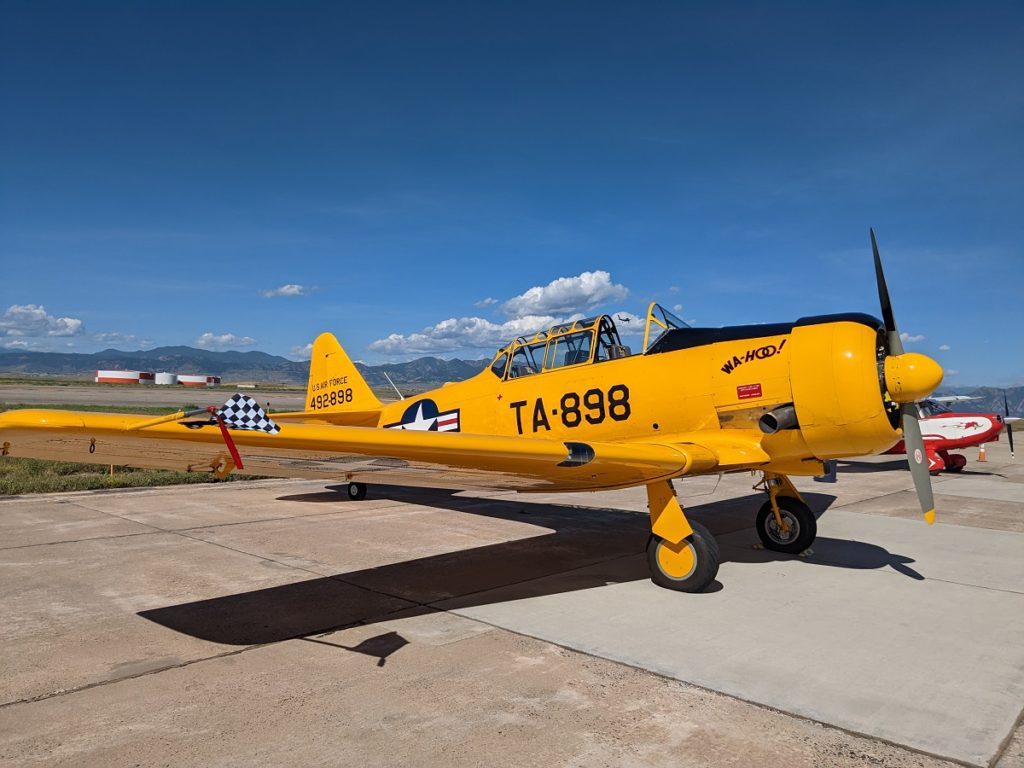
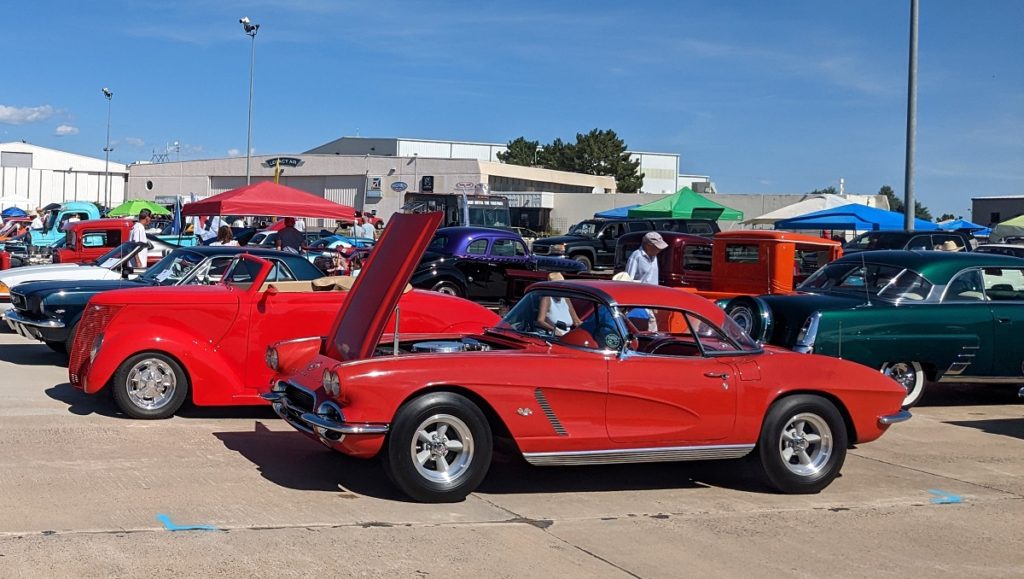
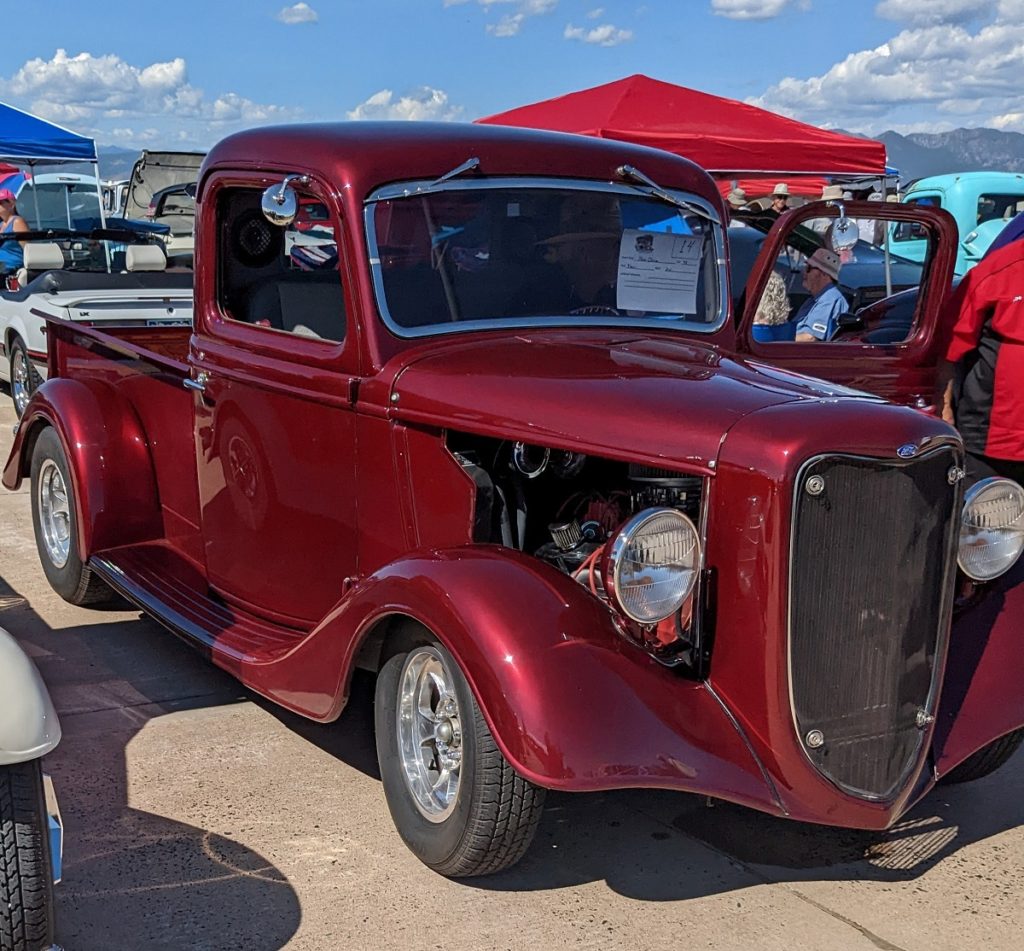
There’s something about the Rocky Mountain region of the United States that just seems to breed hot rods. Maybe it’s the altitude. Or maybe it’s the wide open spaces. Or maybe it’s just the Colorado air. Whatever the reason, there are more than a few amazing hot rods cruising around in that part of the country, and this last weekend you would have seen some of them at the Rocky Mountain Hot Rod, Vintage Aircraft, and Swap Meet. The event was held at Jeffco Airport over the weekend and there was something for everyone who loves cars and airplanes.

The Rocky Mountain Car Show and Swap meet was held over the weekend. AN additional part of the car show highlighted local Mopars from Colorado Mopar and there were more than a few hemi cars in attendance.

1969 Chevelle – Malibu to SS Tribute – Restomod

If you’re a car builder or repair enthusiast, then you know that the 1969 Chevrolet Chevelle is one of the most popular cars to restore and modify. Many consider it to be the perfect platform for a restomod build. In this blog post, we’ll take a look at our example of Chevelle a restomod. We’ll also discuss what makes restomods so popular and why so many people are choosing to restore and modify their classic car into a restomod. If you’re thinking about restoring or modifying your own Chevelle, then this blog post is definitely for you! Stay tuned for more information on 1969 Chevrolet Chevelle restomods.

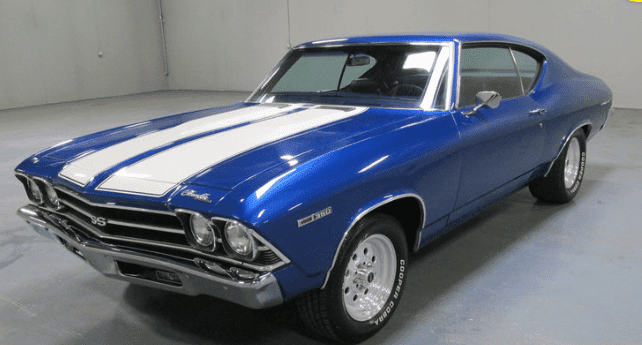
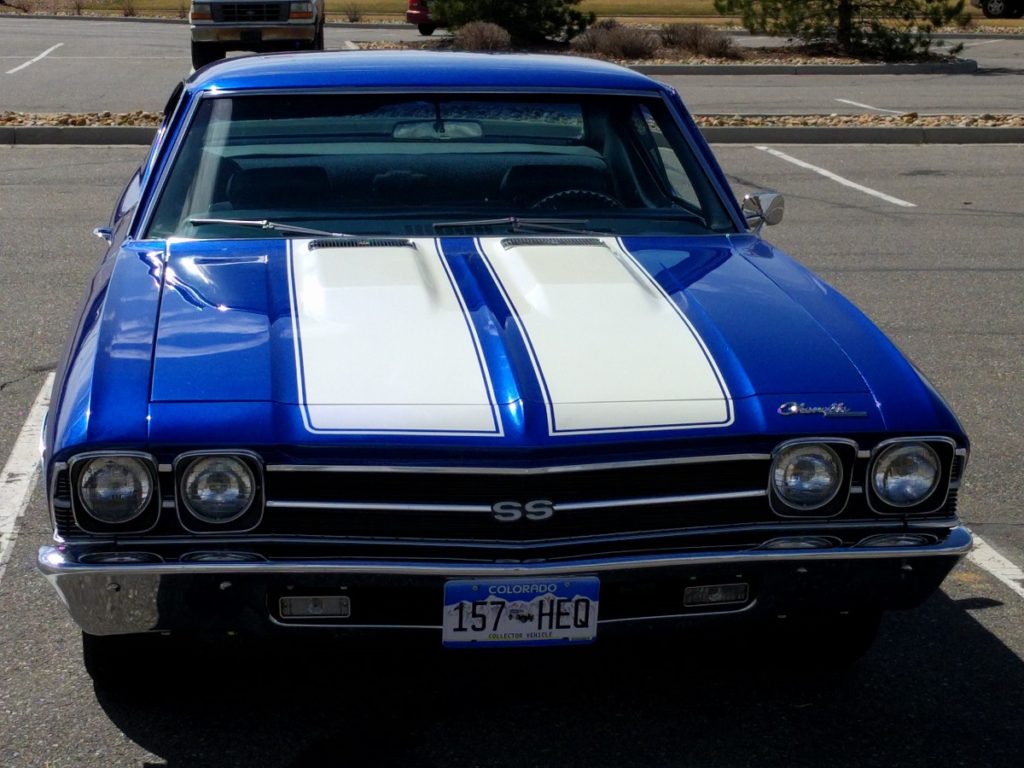
In 2015 we went to the Mecum auction in Denver looking for a mopar to add to our collection. We were quickly drawn to a 1969 Chevelle in blue that was lightly modified but had a mice big block (454 ci) mod already done to it. It was otherwise mostly setup in a stock Malibu configuration with a few SS badges in place on the grill and a replica SS steering wheel installed.

chevelle mecum

There were quite a few SS options that were missing from the configuration. Additionally, the car had the factory nose up stance, drum brakes all around and air shocks in the back. Needless to say the ride was interesting with a soft ride and poor braking that you would normally find in an almost 50 year old car.

2004r transmission

Over the years we have modified this Chevelle extensively which would fall under the guise of turning it into a restomod, which in this case means leaving it looking like a 1969 Chevelle inside and out but where we can modifying it and making it a more pleasant driving experience. One of the modifications we made was swapping out the turbo hydramatic 400 transmission that was in the car with a 2004r from Bowtie Overdrives in CA. They were very easy to work with, sent explicit instructions and verified my pressures after the transmission was installed. Because we have a lift this whole process took a few hours to complete and the addition of overdrive makes the car have a better launch and much quieter cruise at highway speeds (because of a much tighter first and a .07 OD)

floor shifter from

The car had a column shifter when we got it so adding the transmission caused us to change a number of things at the same time. We added a floor shifter from OPGI which then necessitated that we also install a console and wire the console up for lights as well as putting in a neutral safety switch. Moving the shifter from the column to the floor also meant that we needed to change out the steering column which we replaced with a flaming river tilt column from Ground Up. We also replaced the bench seat with a set of buckets that we bought out of a GTO on Craigslist and had recovered at Mr Sids Upholstery here in Thornton Colorado.

bear brakes

The next project that we took on was replacing all of the factory suspension with Ridetech coil-overs, strongarm tubular a-arms and Baer brakes all from Summit Racing. We also replaced the factory 4 link with the same kit which included installing adjustable links between the body and the rear end.

Over time we are completing some of the SS badging and trim modifications that are necessary in order for the SS mod to pass the smell test. These included changing the light bulbs in the turn signals to orange, adding the SS badges to the door cards, blacking out the grill to the right of the headlights